Showing posts with label DIY. Show all posts

Sunday, August 3, 2014

My Favorite Things!


Happy Sunday sweet friends!  I am SO excited to be linking up with some great bloggers to share our Favorite Items for starting the school year!  Not to mention, there are some seriously FAB prizes to be had!  Please make sure you check it all out :)

So what are your must-have, cannot-live-without, items for going back to school?

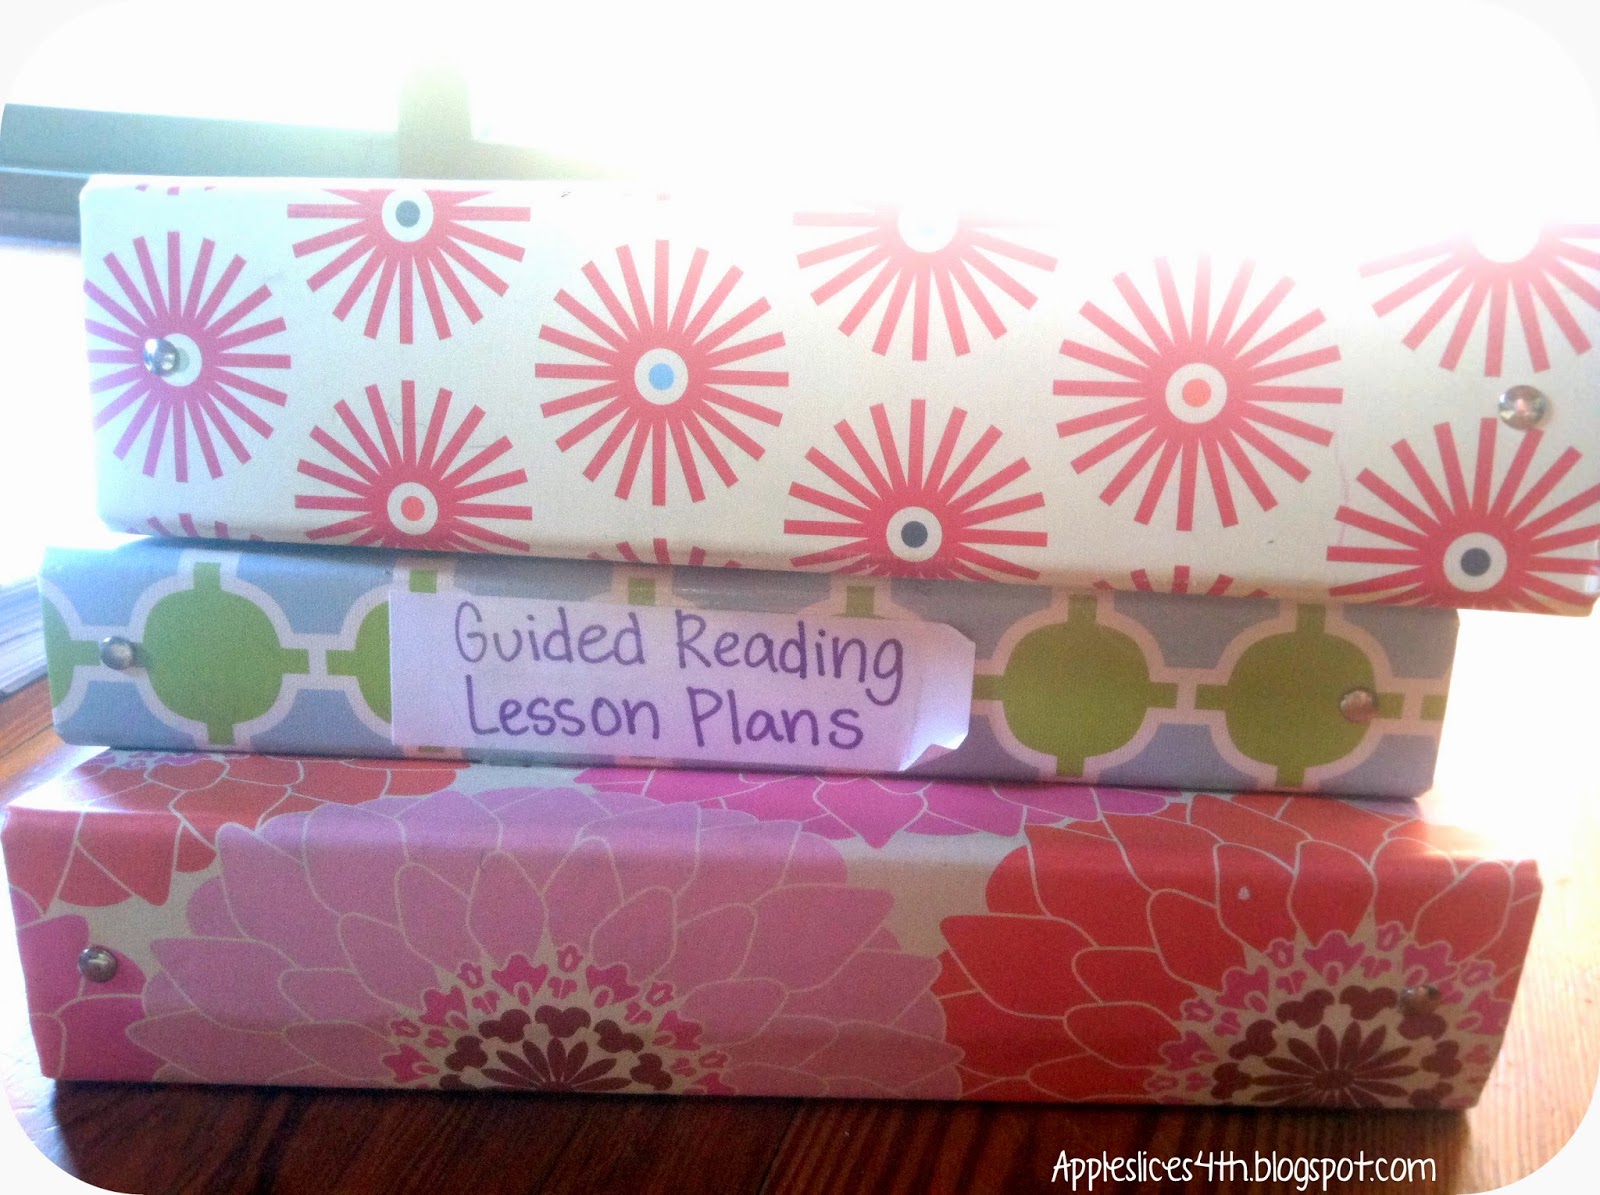
For me, I cannot live without my binders.  I have a binder for EVERYTHING and everything has it's place in a binder :) {And I just have to share, I am not an organized person, but this system works for me.}

Anecdotals?  Yup!
Reading notes?  Yup!
Writing notes?  Yup!

And it goes on and on. 

I always assign my students a number- like so many other great teachers out there.  It saves times and money every year since I can just keep the numbers the same and switch out my tiny little list. 
the list
For if you're feeling not-so-rich...
For if you're feeling rich...

And then each tab in my binder(s) is numbered!  All you have to do is find the student's number and insert their work.  Easy peasy!  Let's be honest- it's is all about working smarter, not harder, if we want to keep our heads above the water.  Would I go around numbering student desks?  NO.  But some things are just better being numbered :)

https://www.dropbox.com/s/hkmgd4rvnn1hsle/Binder%20Labels%20and%20Numbers%20%28Final%29.pptx

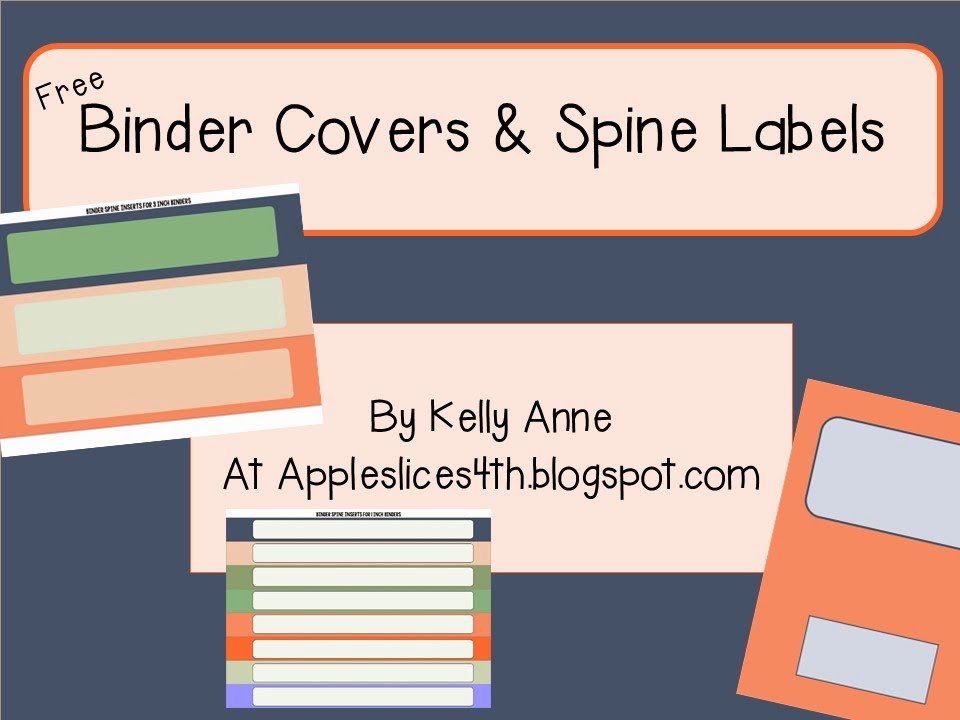
And NOW, for the fun stuff!  First of all, see that ugly label on my binder up there?  I'm going for longevity this year in my classroom.  I want to make binders that can last over the years.  That little Guided Reading label will just not cut it.  So I made these guys below.  Binder labels, numbers, and a numbered class list.  Grab them from dropbox, here!  I plan on laminating, and gluing or taping these guys on.  {I would have pictures BUT my stuff is still locked away in Storage for another week.  Waaaaahh!}
https://www.dropbox.com/s/hkmgd4rvnn1hsle/Binder%20Labels%20and%20Numbers%20%28Final%29.pptx

AND WAIT!  It gets even better... be sure to enter below to possibly win all sorts of goodies!  Be sure to visit all 30+ of us participating to see all there is to see!

a Rafflecopter giveaway



Wednesday, June 4, 2014

How to Create Your Own Color Palette in PowerPoint


I don't know about you, but I get so tired of the basic colors offered in PowerPoint.  I want something new and exciting.  So, I discovered a quick and easy way to create your own color palette!  Just follow these steps.

**There may be a better and easier way of doing this- but so far, this has worked best for me.**

1)  Find a picture that has colors in it you like, or a color palette you want to use.  (Super easy in Google Images)


2)  Save your image by right clicking and choosing Save Image As


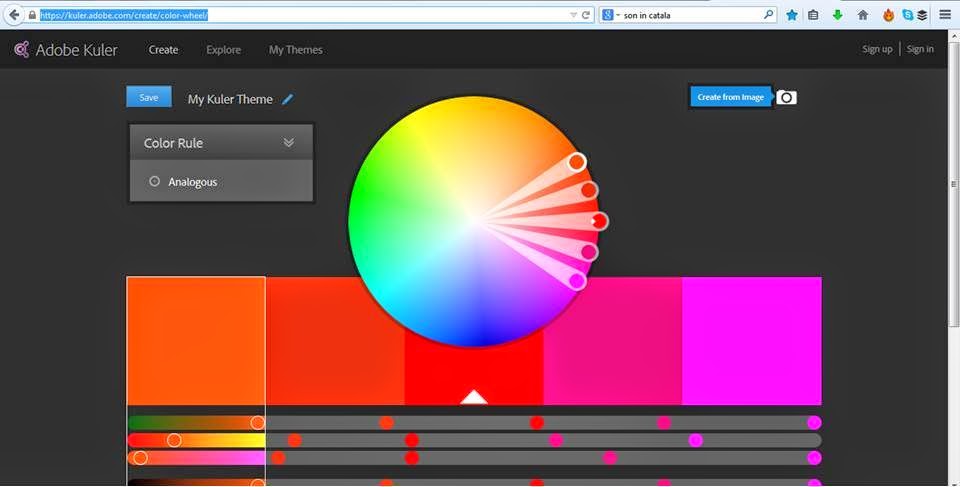
3)  Now, the amazing part- go to a website that allows you to create a color palette.  Adobe's Kuler is great for this and is the one I will share with you.  However, there are other websites you can use. 

4)  On Kuler you can play around with color choices- but if you want the colors from your image in step 1, click on the camera in the upper right hand corner.


5)  Choose the photo you want to use and let Kuler do its' thing!

 
6)  You will end up with a color palette based off the colors in your picture.   You can alter these colors by clicking different Color Moods in the upper left hand corner. 


7)  To save these colors in PowerPoint, open up PowerPoint. 


8)  Click on Design>>Colors>>Create New Theme Colors


9)  I recommend leaving the Backgrounds and Texts as they are and only changing the accent colors.  Click on Accent 1 and then "More Colors".


10)  The "More Colors" box will pop up.  So, how do you get the Kuler Color Palette into this?  Well, you see the numbers along the bottom of the More Colors Box?  They say Red, Green, and Blue.  These are what you'll alter. 


11)  Go back to your Kuler Colors.  Click on "Create from Wheel" in the upper right hand corner. 


12)  You colors will pop up and underneath each color are some numbers.  Go back to your PowerPoint and type in these numbers.  Click OK.  And now that color is saved as Accent 1! 


13)  Do this for all the accent colors, giving each accent a different color.


14)  Give your palette a name, and save! I recommend having these pages both open at the same time so it's easier to input the numbers. 

15)  To use your brand new color palette, just open a new PowerPoint, click Design, click Colors, and Choose your new Color Palette! 


16)  You'll find your new colors easily accessible in your colors section.  Now you can make shapes, backgrounds, and text with your new color palette!!


Wednesday, August 28, 2013

Arts & Craft

Hey Teacher Friends!! Before I even get started I want to make sure you know about the GIVEAWAY I'm having right now... one person will win a $20 Gift Card to TpT!  Just go to yesterday's post, {here} and enter!!  It's that easy!

I haven't been able to start pulling together anything for my classroom since we're moving to Espana soon to teach, so I've been working on little things around the house to keep my hands and mind busy during this "in between" time. 

On September 7th I'm throwing my family friend Morgan and her fiancĂ©, Drew, a wedding shower.  
She was the MOH in my wedding this past June :)
They both went to the University of Georgia while my husband and I went to the University of South Carolina.  And these two teams just happen to be playing each other on September 7th!  So we decided to do a couple's tailgating shower!  I've been having so much fun pulling things together for the celebration. 

The invitations incorporated their initials and so I've been working with that and the color RED. 

A copy of the invites without the "details"


I found these cute letters at Michaels and knew I needed an M, an ampersand (&), and a D.  I also picked up a cute board that was on sale and some chalkboard pens!

The "d" backwards & halfway through painting
{I forgot to take "before" pictures! Whoops!}
I had leftover chalkboard paint from some wedding DIY, so I got to work! 

It was super simple y'all!  I painted the letters and the board with three layers of chalkboard paint on the front and back. 

And viola!!

Super cute chalkboard letters...


And the pretty board...

I plan on doing something like this with the board

or this...

and then decorating the letters with my red chalk pen with something like this maybe...
Thanks Lucky Magazine for the Image!
Now if someone could help me figure out the menu, I'd be all set!  Any suggestions?  It'll be hot and I'm on a budget!